
Wood · by Tim
Tailor's & Quilter's Clapper
A solid hardwood pressing tool that helps seams set crisp and flat. Simple in principle, surprisingly effective in practice, and made one at a time from solid hardwood.
A traditional pressing tool
From tailor shops to quilt rooms
The exact origin of the tailor's clapper is difficult to pin to a single inventor or date, but wooden pressing blocks have long been part of traditional garment making and tailoring. Pressing is a major part of shaping a garment, and the clapper gives a tailor a simple way to keep pressure on a freshly pressed collar, cuff, lapel, hem, or seam while the fabric cools.
Quilters found that the same idea works beautifully for patchwork. A clapper can help flatten seams pressed open or to one side, tame bulky intersections, and give blocks a flatter surface before they are joined together. Today the tool is at home beside both a tailor's iron and a quilter's pressing station.
Made in our workshop
From rough lumber to finished clapper
There is not much machinery hidden inside a clapper. The difference is in the stock selection, the shaping, and a lot of hands-on finishing.
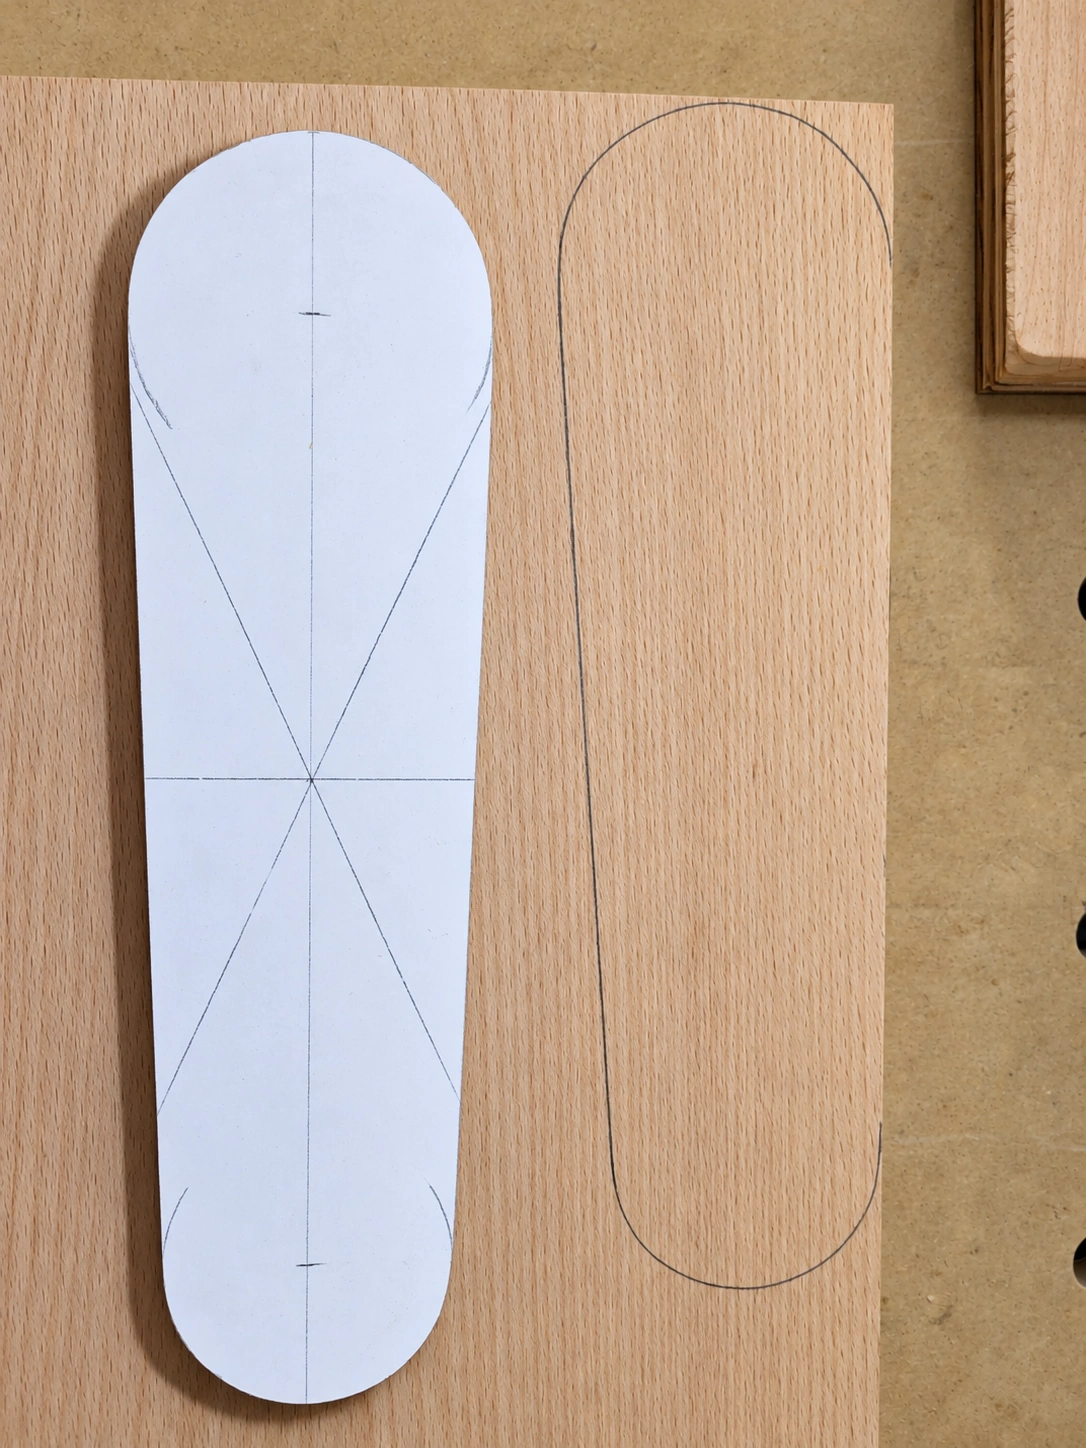
Select & lay out
Start with the right piece of wood.
Each clapper starts with a hand-selected piece of 1-3/4" Beech, Ash, Oak, or Maple. The shape is laid out on the stock using a template, with the grain and the finished form in mind.
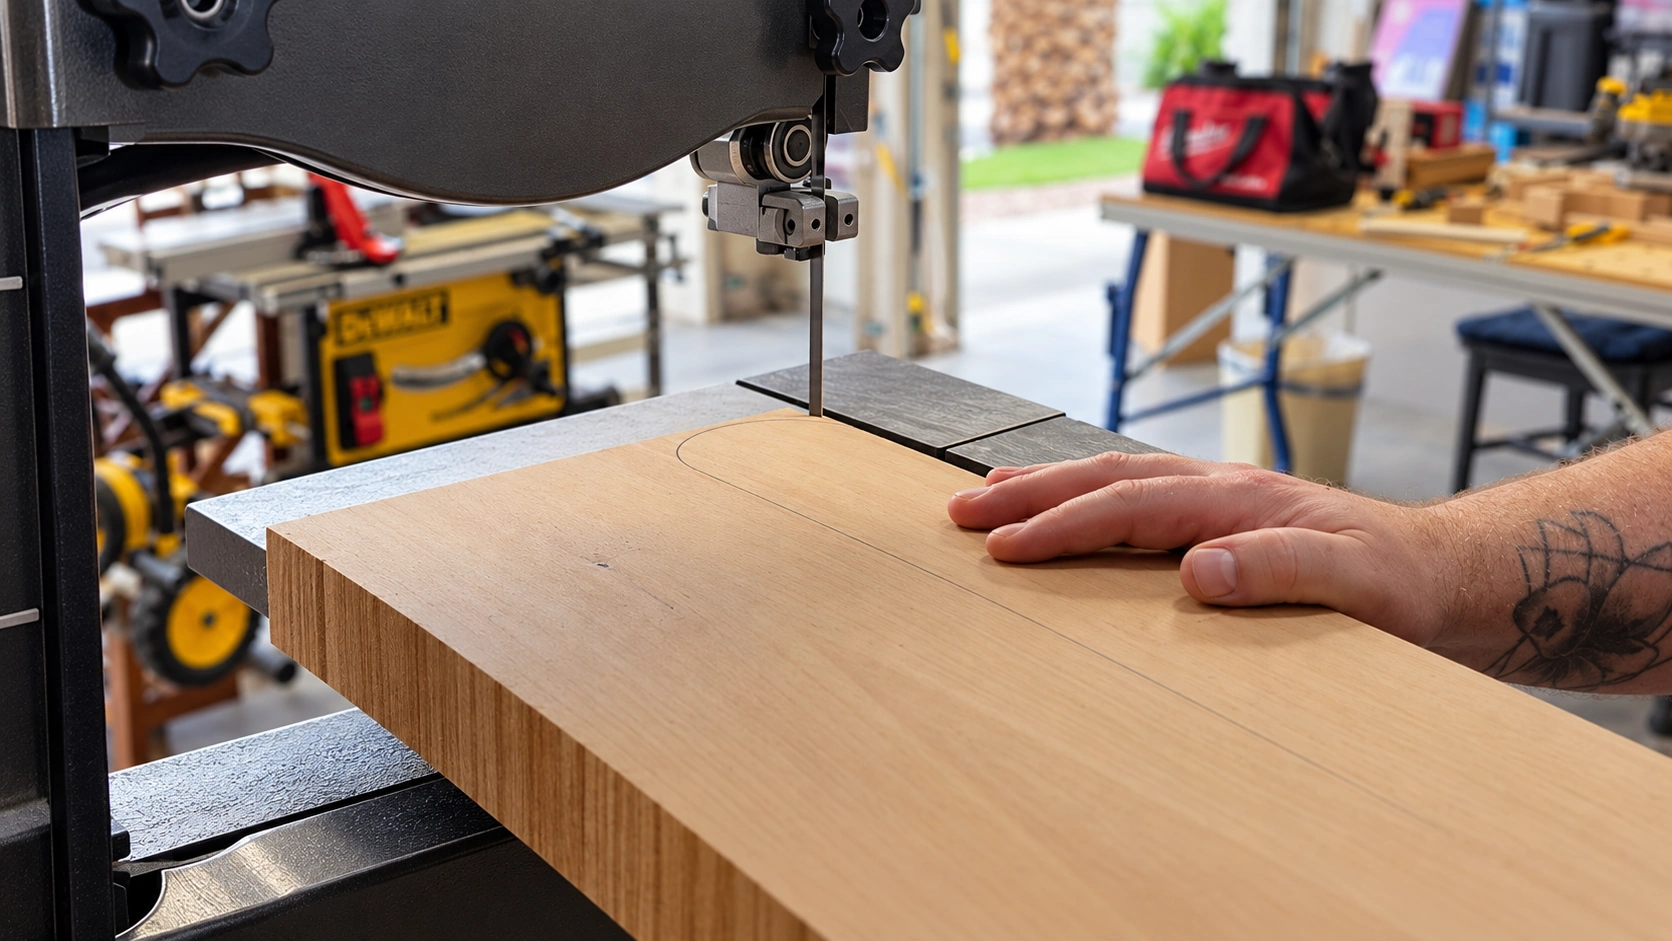
Cut the blank
Follow the line at the bandsaw.
The blank is cut out on the bandsaw, staying just outside the layout line. At this stage it is recognizably a clapper, but it is still very much a rough woodworking blank.
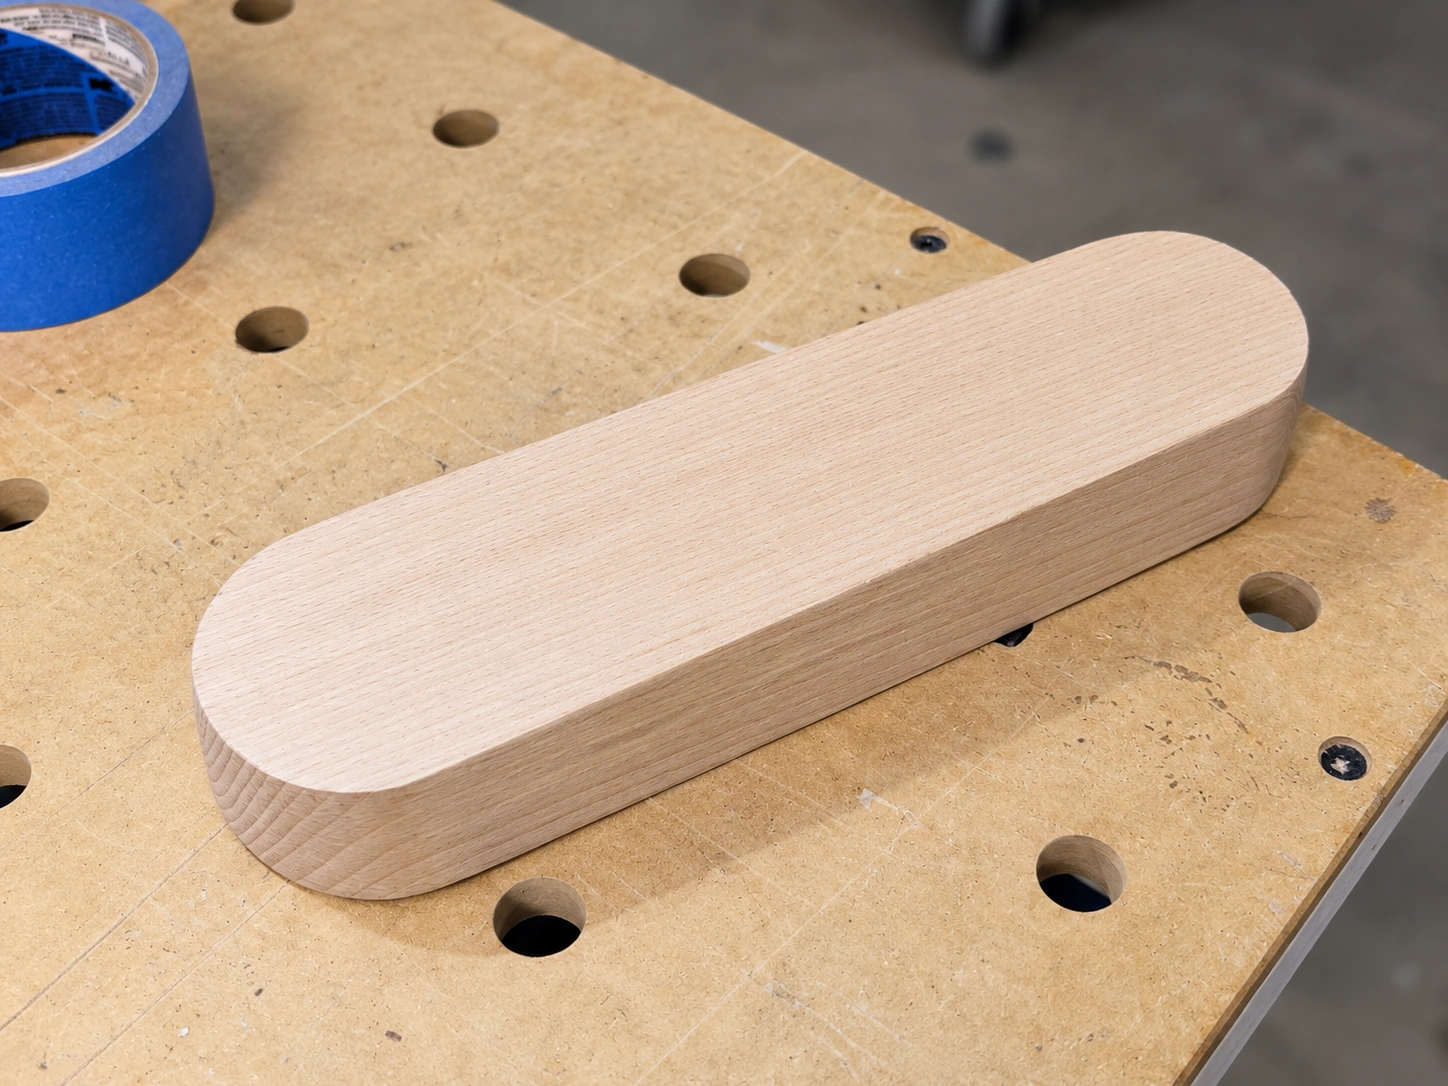
Shape & route
Turn the blank into something comfortable to hold.
The bandsawn edges are rough-sanded to the final shape. Then the edges are rounded over and the finger grooves are routed into the sides so the clapper is easy to pick up and comfortable in the hand.
Sand. And sand. And sand.
The simple-looking part that takes a while.
From there it is sanding — and sanding, and sanding — through the grits until the surfaces are smooth, the routed edges feel right, and there is nothing sharp or awkward where your hand naturally grips the tool.
Make it yours
Customization comes last.
A finished clapper can be personalized with laser engraving, milling, epoxy, inlays, or a combination of techniques. The customization is planned around the wood and the piece rather than treated as an afterthought.
Using a clapper
Heat. Press. Hold. Cool.
- 1 Press the seam.
Use your iron and steam as appropriate for the fabric.
- 2 Remove the iron.
Move directly from the iron to the clapper while the area is still hot.
- 3 Set the clapper in place.
Apply firm, even pressure over the seam, crease, or bulky intersection.
- 4 Let it cool.
Hold it there for a few seconds, then lift and continue with your project.
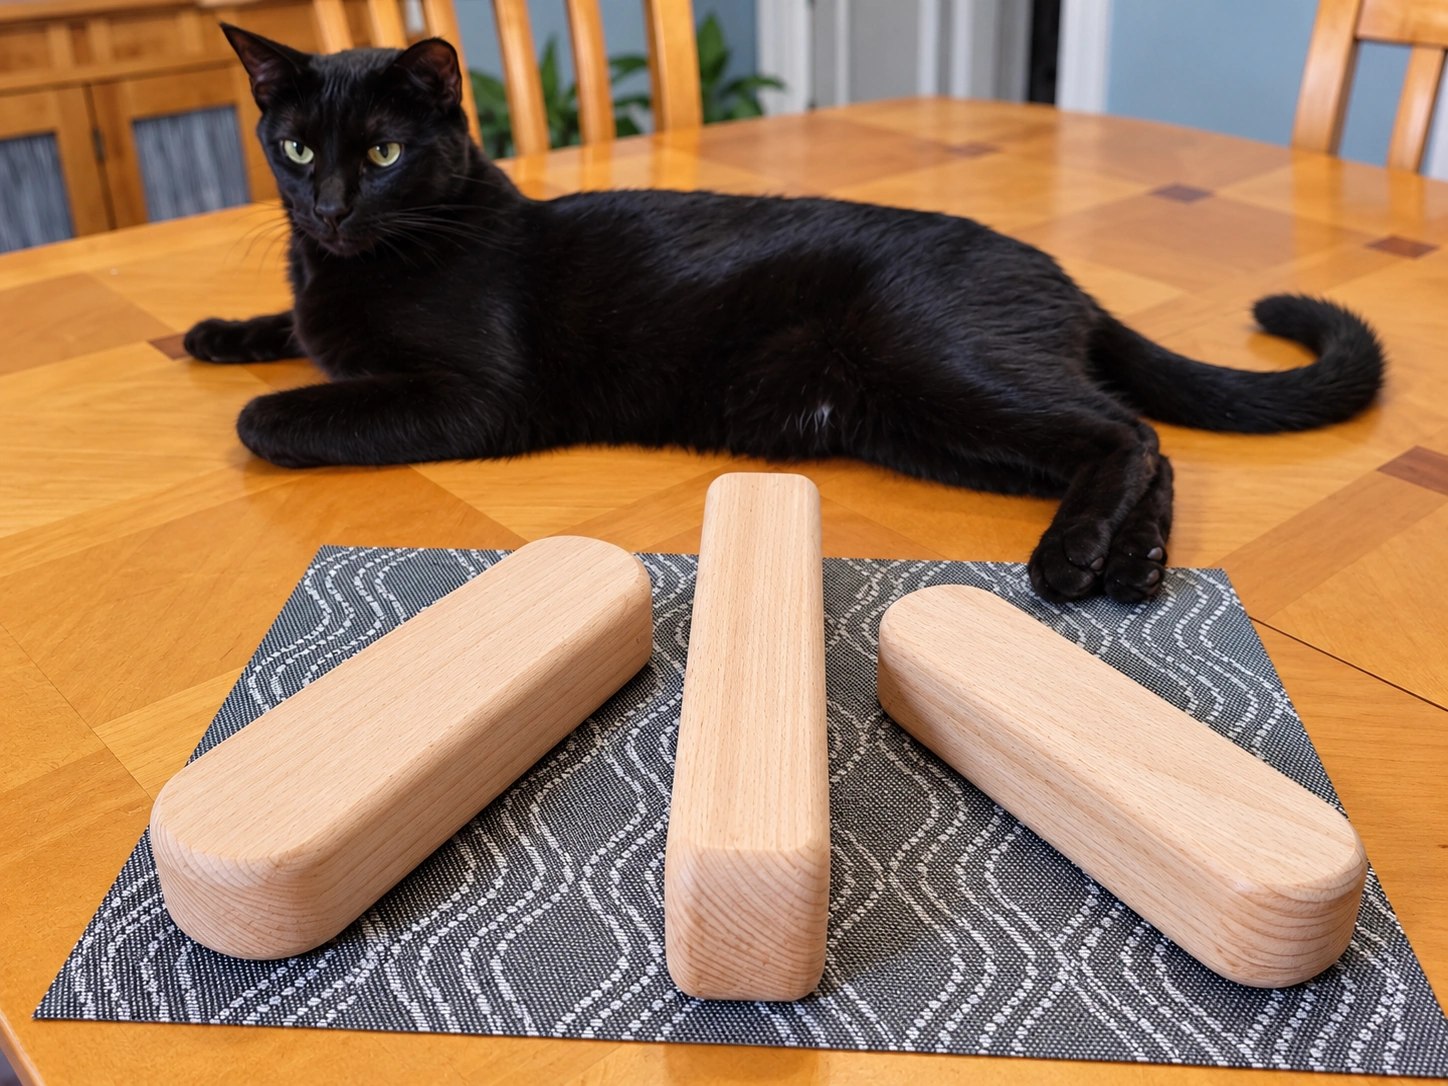
Final inspection
Ready for the sewing room.
By the time a clapper leaves the workshop, the woodworking should disappear into the experience of using it: solid, smooth, comfortable in the hand, and ready to do one simple job very well.